
Publish a flat file into Postgres Database
What will you learn
Create new NetFlow process from template
Configure destination database and table name
Run created process and upload file.
After this tutorial you should be familiar with creating processes from template. You should also understand how Postgres destination connector works in NetFlow.
Prerequisites
Basic understanding of NetFlow processes module. If you are not familiar with this read Processes and Create new process pages.
Basic understanding of relational sql databases, like Postgres.
Enough permissions to create process from template.
Introduction
Uploading flat files to relations databases is a common practice and has different use cases. The data is stored in a centralized storage and can easily be combined with other data. However it can be complicated for non advanced users to upload such files in relational database directly. With NetiLab such a procedure can easily be implemented so that even regular users can upload data from flat file.
More advanced users can also implement some data transformations that would be performed during the importation of the file to database.
Example description
Out task will be to upload csv file containing data about airline customer satisfaction rating. The data set was availible in https://www.kaggle.com/datasets/raminhuseyn/airline-customer-satisfaction . If the url is not working anymore, you can access csv file directly Airline_customer_satisfaction.csv
File will be uploaded via NetFlow process, which will parse the csv file into table format and determine the data types of the column. Afterwards it will import this data int Postgres table. If the table already exists in postgres, process will only insert new rows. If the table does not yet exists, the process will automatically create the table and then insert the data into it.
Steps
Step 1 - Creating import process from template
Go to NetFlow module and open navigation menu by clicking icon. Then click on
button. A pop up window with process templates should open up.
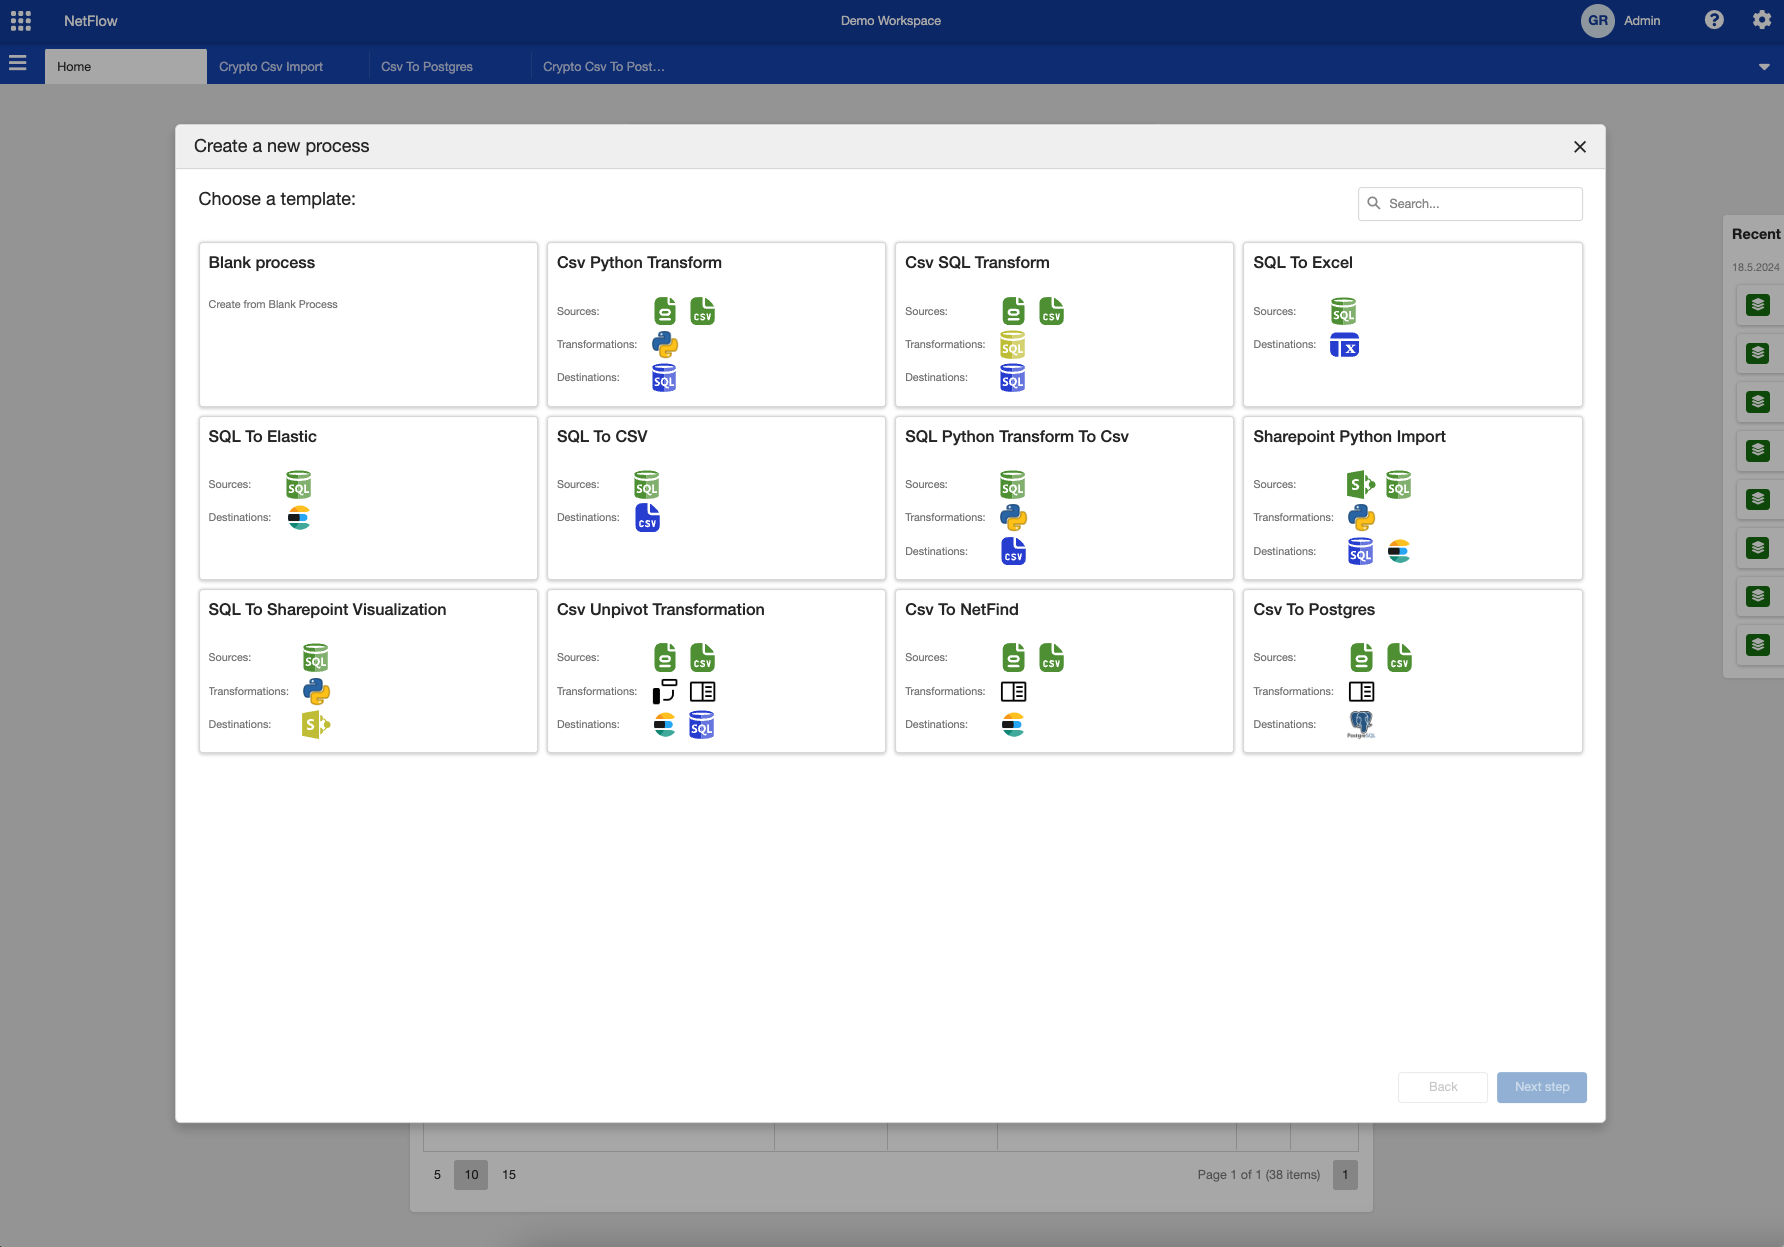
Process template selection
Select Csv To Postgres template and click on Next Step button. In the next step you need to fill in process name and select process group. Also some template configurations needs to be set up. Since this is very easy process template there are only two configuration items that needs to be selected. This is PostgreSQL Bulk Connection, which is a Workspace data connection to postgres database and PostgreSQL Table Name, which is the name of the table where the data will be imported.
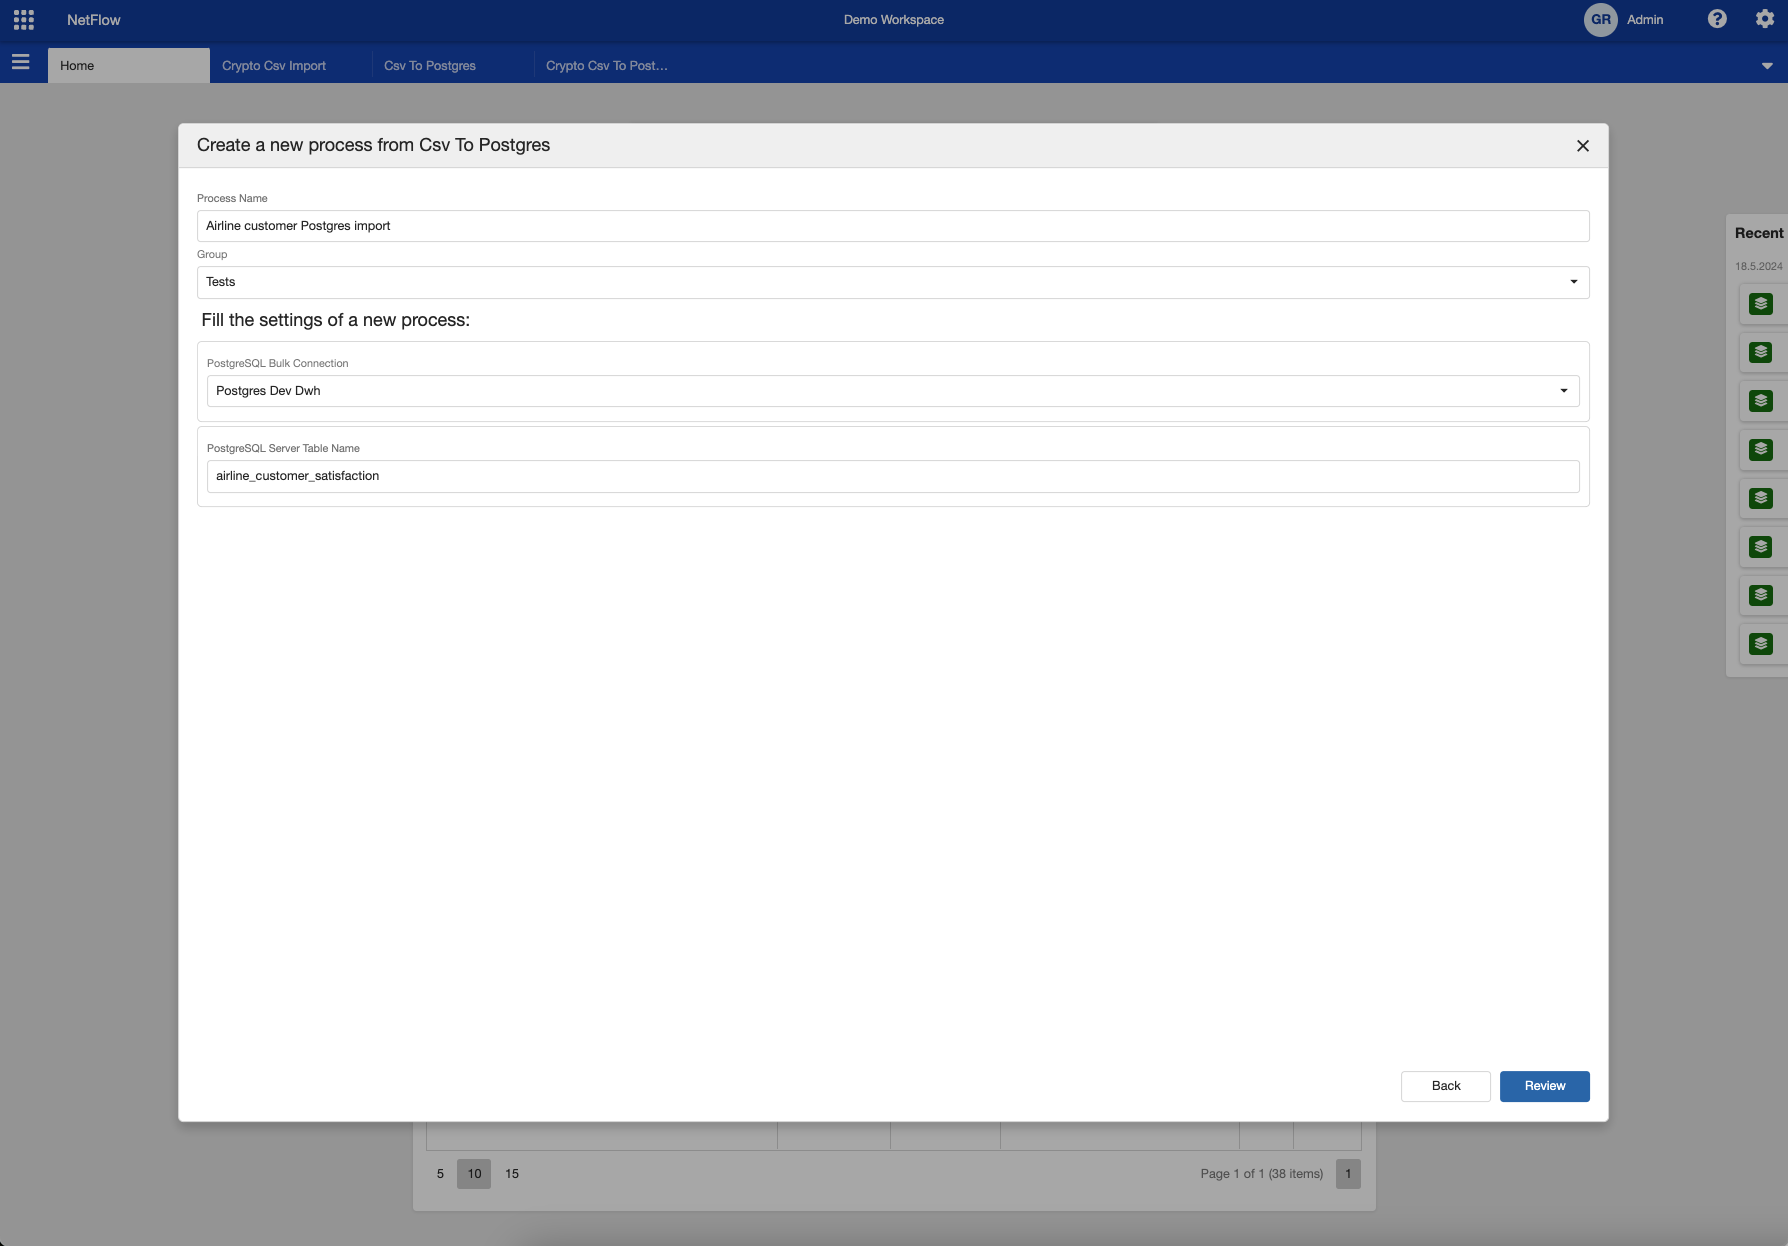
Process template settings
Then click on Review button and review selected configuration. Afterwards click on Save button. This will create a new process and you should be redirected to the newly created process page (either process dashboard or instance page).
It is possible that this template does not exists in your workspace. If this is the case, and you would like to use this template please contact the support team.
Step 2 - Running created process
If everything was set up correctly you are ready to run the process and upload airline customer csv data. To do so click on Run new instance button and new process instance will be started and stopped in the first (Upload Csv) node. Open the form by clicking on ![]() button and upload airline customer csv file. Afterwards the file is uploaded click on Confirm button on the form.
button and upload airline customer csv file. Afterwards the file is uploaded click on Confirm button on the form.

File upload form.
After the form is completed the process will automatically continue and it should complete successfully.
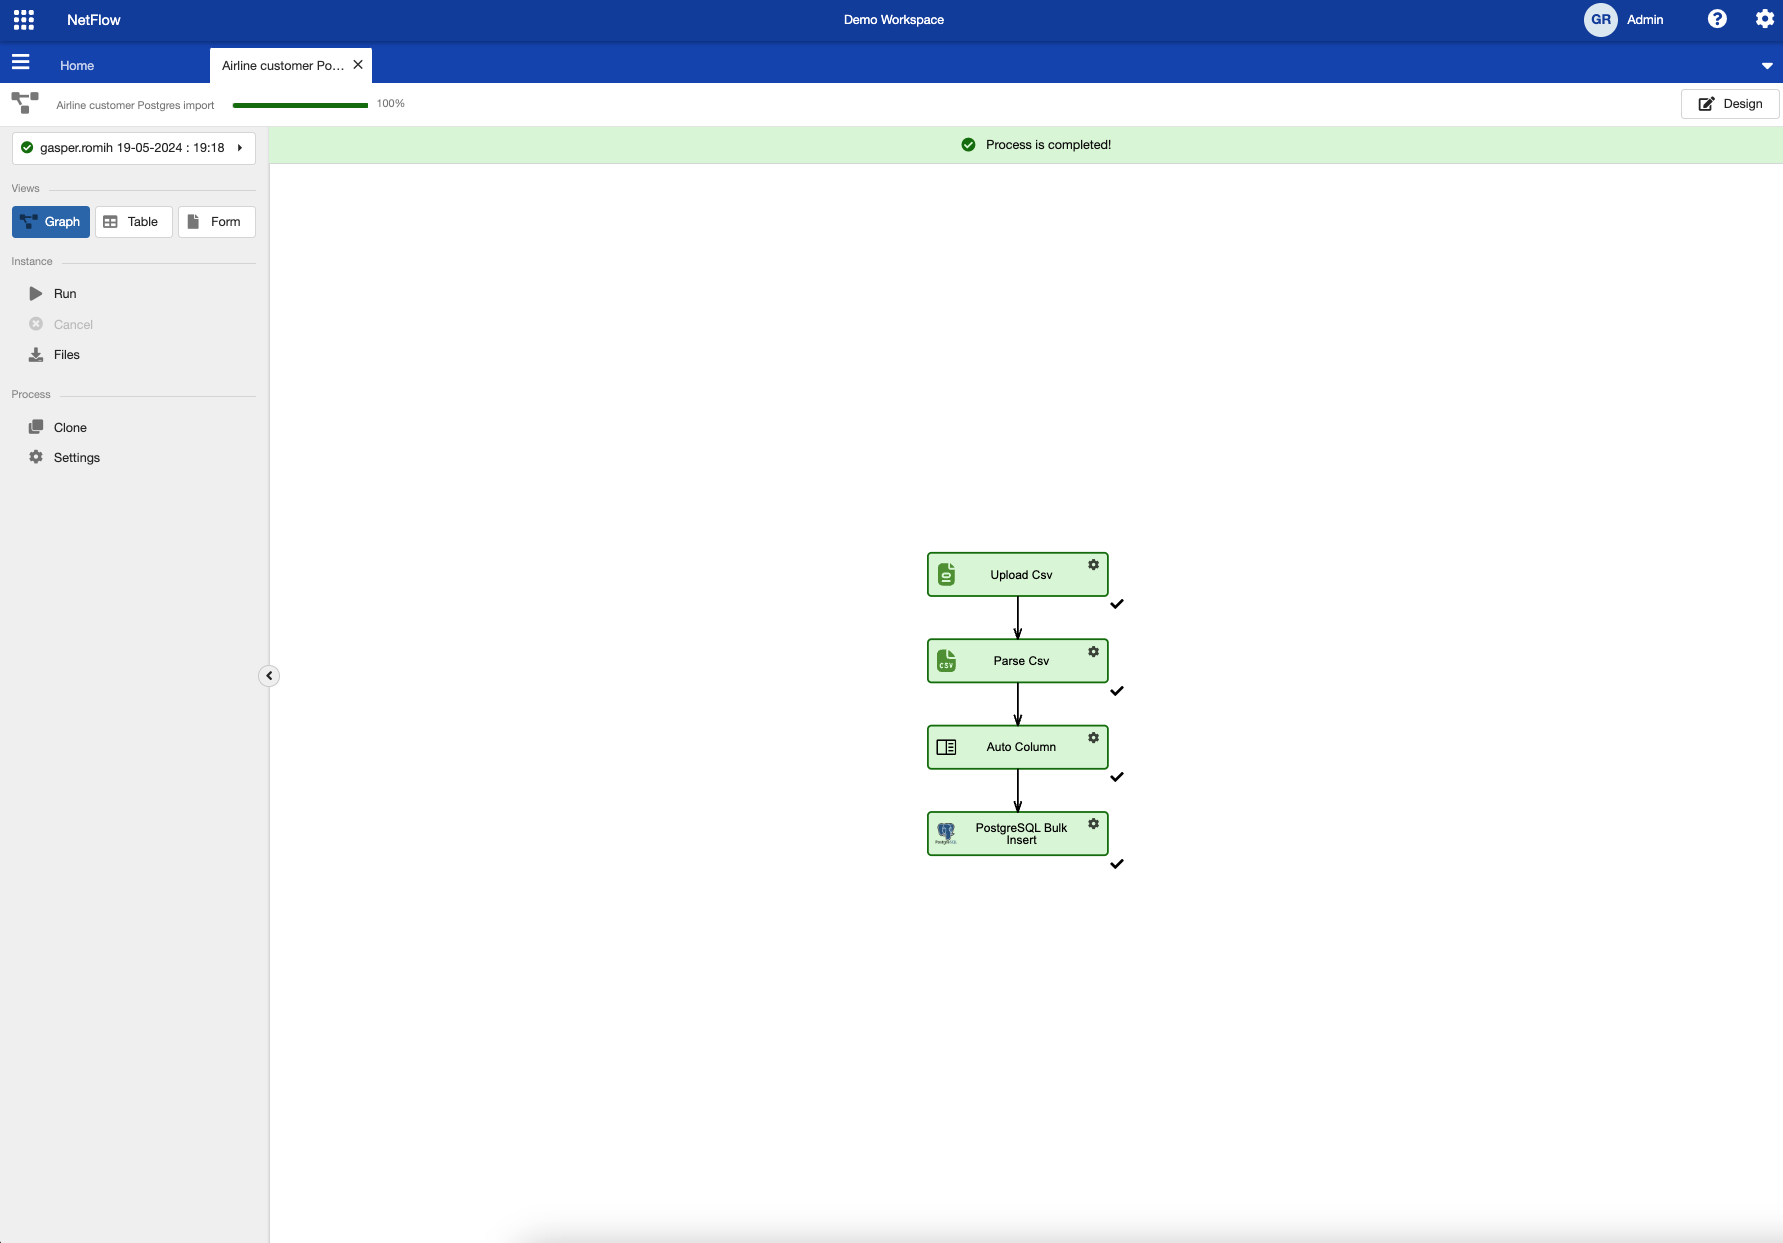
Successfully completed process
Step 3 - Inspecting results in Postgres
At this step the import process is successfully completed, meaning that a postgres table was created and data was import into it. To check the results you can use one of the tools like Azure Data Studio or Pg Admin to connect to postgres database and query the results. If you do not have such a tools, you can explore this table using NetBox and its Data Explorer module.